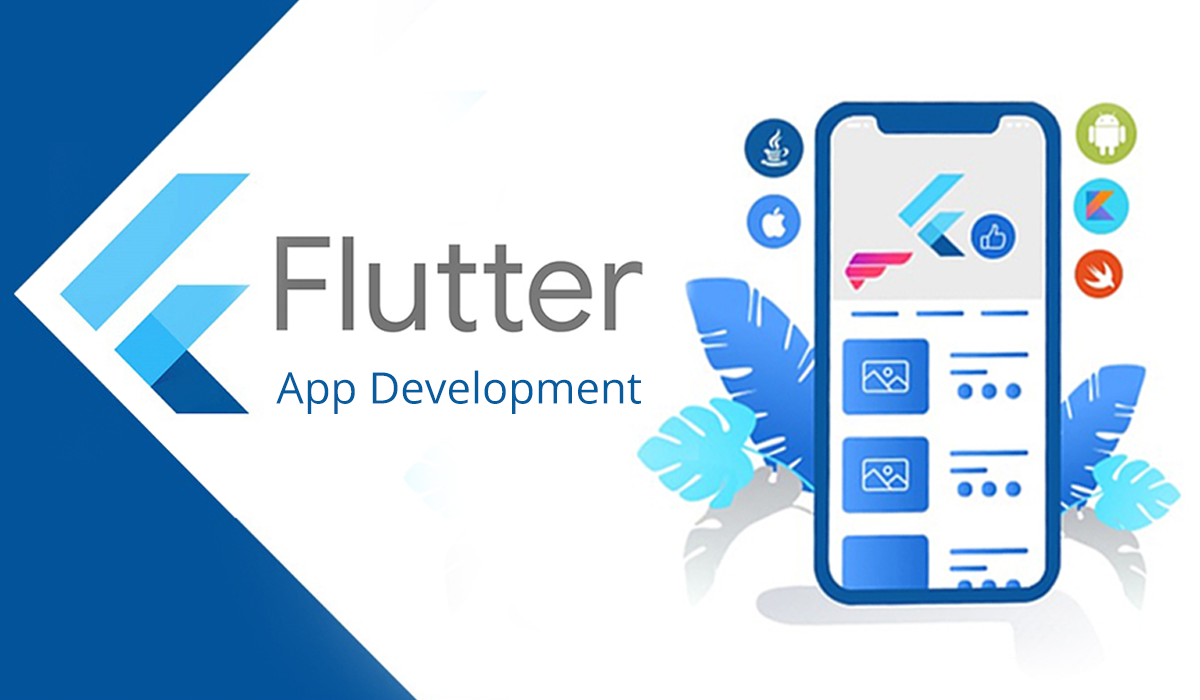
Flutter is one of the most popular frameworks for building mobile applications because it allows developers to create beautiful, fast, and native quality flutter apps for both Android and iOS using a single codebase. Created and maintained by Google, Flutter is powered by the Dart programming language and offers a rich set of customizable widgets. Its beginner friendly nature and powerful UI capabilities make it the perfect starting point for new developers. The official Flutter documentation at flutter.dev explains that the framework was designed to simplify development and reduce the time it takes to release apps across platforms.
Table of Contents
Setting Up Your Development Environment
Before building your first Flutter app, you need to set up your environment correctly. Start by downloading the Flutter SDK from the official website. Once Flutter is installed, you should also install Android Studio or Visual Studio Code since both provide excellent support for Flutter development.
Android Studio offers a powerful emulator and built in tools for debugging and performance monitoring. Visual Studio Code on the other hand is lightweight and preferred by many beginners. You can explore setup tutorials on the Flutter Install Guide which walks you through configuring PATH variables, enabling device debugging, and installing necessary plugins.
Understanding the Folder Structure of a Flutter App Project
When you create a new Flutter app project, it comes with a structured folder system that organizes your files. The lib folder contains your main Dart code and is where most of your development happens. The pubspec.yaml file is used to manage dependencies, assets, and package versions. The android and ios folders contain platform specific configurations, though Flutter abstracts most of the complexity so beginners rarely need to edit them directly.
A detailed explanation of this structure is available on Flutter’s Project Documentation, and understanding it early will make your development journey smoother.
Writing Your First Lines of Flutter Code
Every Flutter app begins with the main.dart file which contains the main function. This function initializes the Flutter engine and launches the app. The basic building blocks in Flutter are widgets. Everything you see on screen whether text, buttons, images, or layouts is a widget. Flutter provides two types of widgets, StatelessWidget for UI that does not change and StatefulWidget for UI that updates based on user interaction.
Beginners can start with a simple Text widget or Container that displays a colored box. Flutter’s hot reload feature allows you to instantly see code changes without restarting the app, making experimentation fast and enjoyable. Tutorials on Dart Dev Docs explain how Dart syntax works and why it integrates seamlessly with Flutter widgets.
Building a Simple User Interface
Creating your first UI in Flutter is easier than in many other frameworks. You can define your screen using a Scaffold widget which gives you a basic layout including an app bar, body area, and optional floating action button. Inside the body, you can use Column, Row, and Center widgets to arrange your content.
For example, displaying a simple welcome message takes only a few lines of code. Flutter also supports responsive layout principles which allow your UI to adapt across different screen sizes. If you want to explore advanced UI layouts, platforms such as Flutter Awesome offer open source UI kits and examples that you can experiment with.
Adding Interactivity with Stateful Widgets
To make your flutter app dynamic, you can use a StatefulWidget. These widgets allow you to track user actions such as button taps or text input. A counter app which increases a number every time the user taps a button is the most common beginner project. Flutter manages the UI with a concept called state, and when the state changes, only the necessary parts of the UI rebuild.
Learning to manage state is an important step in building scalable flutter apps. Resources on Bloc Library Docs and Provider documentation provide deeper insights into advanced state management solutions that you can explore later.
Running Your App on Android or iOS
Once your basic UI is ready, you can run your app on your device or emulator. Android Studio includes built in virtual devices that simulate different screen sizes, while iOS development requires a Mac with Xcode installed. Flutter makes deployment simple, and the run command instantly launches the project on the selected device.
If you encounter issues, the debugging guide on flutter.dev helps troubleshoot common errors, performance problems, and device connectivity issues.
Final Thoughts
Building your first Flutter app is an exciting experience. With its simple setup, hot reload, flexible widget system, and powerful performance, Flutter makes mobile development accessible to beginners while still offering advanced tools for professionals. Once you understand the basics of widgets, state, and layout, you can confidently move on to creating full apps, integrating APIs, adding animations, and managing data.
Love to learn that flutter is this much fun.